So, a weekend’s arising when you’ve received practically nothing planned – time to enhance that room you’ve been putting off for ages.
The majority of people invest months or yrs intending to embellish rooms in their houses and hardly ever get all over to it. The explanations are all pretty identical – the room is simply too complete to operate in, they haven’t bought all the right gear or they don’t know the place to start. But if you’re trapped in a certain amount of a rut with rooms in the house, don’t fret – I’ve got you protected with my leading guidelines for decorating a home…
8 matters you will want for decorating
1. Plastic sheeting
In regards to deciding on paint, the selection is infinite. My regional Do it yourself shop, Designer Colours, can combine up any exact colour you prefer. You will take in an merchandise they usually’ll scan and colour-match it for you personally.
To exercise the amount of paint you may need, compute the region of your respective ceiling and partitions, and keep in mind you’ll be carrying out two coats. A 5L tin addresses about 50m2, but this can fully rely upon the thickness of your paint, so Test the back on the tin.
I’d endorse applying acrylic undercoat and major coat, as it has a a lot quicker drying time and less fumes. Usually do not use an oil-centered and an acrylic paint alongside one another. If you utilize an oil-dependent paint, you’ll need white spirit. All the things else washes off with h2o.
Preparation is anything On the subject of portray
There is no point going for walks into a space, cracking open up a tin of paint and slopping it around every one of the uncovered surfaces you can see. You might want to prep – this will take a few hours, but could make The entire position less difficult, cheaper, greater and, most of all, you won’t spill paint all over the sofa. When you’re accomplishing this around a weekend, I’d suggest doing as much of this prep to the Friday evening, so you've much more time for you to paint on the subsequent days.
Start off by going all of the hefty things (sofas, beds, bookshelves, TVs) during the room in the centre, leaving not less than a 30cm hole involving your home furnishings along with your walls all around. Future, just take down any curtains, blinds or nets and lay these around the furnishings. Now lay any wall hangings, photographs and light shades on your curtains, and cover The complete detail up with plastic sheeting. Consider in order to avoid cotton or twill sheeting – this gained’t keep dust out or massive blobs of paint (if you fall any).
Along with your valuables covered up, it’s time for a certain amount of sanding. Employing eighty-grit sandpaper, evenly rub all of your woodwork – the skirtings, architraves and doors. Make sure you rub just the facial area with the door that looks into your area, unless you’re arranging on decorating the corridor also.
When all of the sanding is completed, have the vacuum cleaner out and give everything a thorough thoroughly clean, ensuring that never to miss out on the tops of the doors, architraves and skirtings. You might require to scrub the woodwork having a damp fabric and many washing-up liquid. I’m not judging you on your cleanliness, but some rooms is usually greasy and paint doesn’t follow grease.
Now you happen to be cleared, sanded and cleaned, it’s time with the masking. Use 50mm decorators’ tape to mask exactly where your flooring meets the skirting boards. Whether your ground is carpeted or clean-surfaced, it truly is a good idea to do this, mainly because it stops drips and saves you from having to Reduce-inside the paintwork from the floor (painting a straight, neat line around the boundary after which ‘colouring in’ In the traces). If you are scheduling on portray all around wooden Home windows, you'll be able to mask these up much too – it takes ages, but saves way more time in cutting-in and scraping paint off of glass.
While using the masking all performed, all you need to do is place plastic sheeting on the ground (you'll be able to Reduce a significant plastic sheet into long wide strips with scissors – this will make it a good deal a lot more useful) and after all that, you’re at last Prepared for the fun stuff!
Start off portray at the highest and do the job down
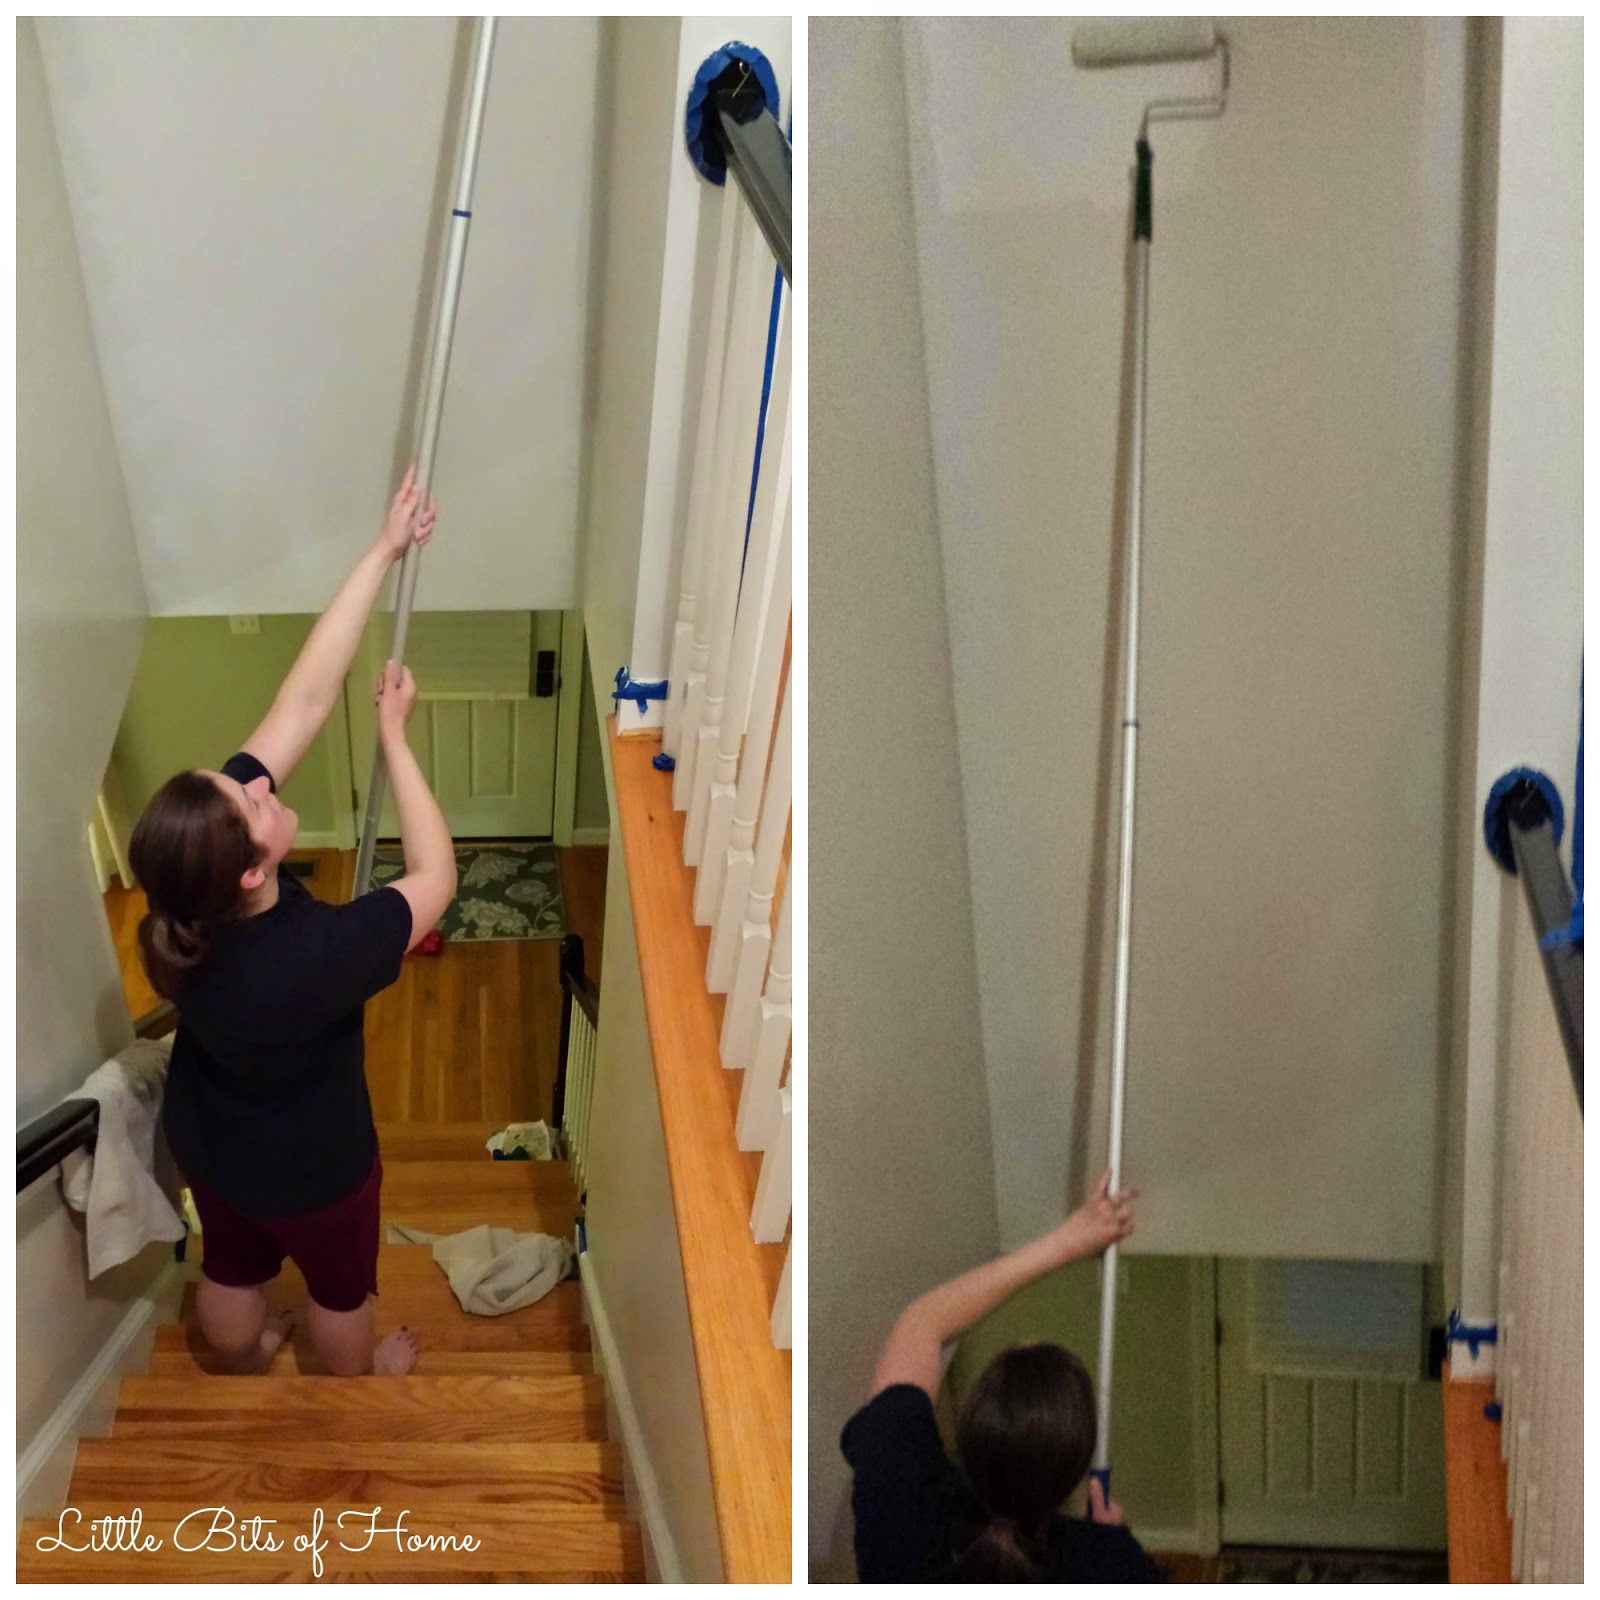
Paint the ceilings 1st – this way any drips or places will not likely muck up other bits you’ve presently done. Use a 4” brush to paint throughout the top edge of your ceiling. In case you’re portray the partitions later on, you don’t should Reduce this ceiling paint into them, as you’ll be painting excessive. After you’ve painted round the edges in the ceiling, use a similar brush to chop in about any lights you've got.
With the sides continue to soaked with paint, utilize a roller To place the primary coat about the ceiling. Pour a number of your paint into your roller tray and start portray. Get started inside the corner of the home and function outwards from there, painting in compact sections and normally rolling back again into your moist function.
Once the very first ceiling coat is done, wrap the roller in a plastic bag and begin undercoating the woodwork.
To undercoat, just take your two” brush and start portray the skirting. Simply because you haven’t put any paint to the partitions nonetheless, you could coat the woodwork with no need to chop-in – this will make the do the job go considerably faster.
Once the undercoat is completed, your ceiling must be dry sufficient to lay in your second coat. Make use of your 4” brush again to paint the perimeters of the ceiling, and afterwards roller the rest. Wash the roller out and depart it to dry. You now have an hour or two to go outside and obtain some contemporary air Before you begin the final stretch.
When your undercoated woodwork has dried, you can start painting the walls. Engaged on one by one, make use of the two” brush to chop-in the road involving the partitions, woodwork and ceiling. Once a single wall is totally Minimize-in (together with around the light-weight switches, sockets and any wall-mounted mild fittings), pour some paint in to the well on the roller tray and begin painting the wall.
Get started in a single corner and roll up and down (as opposed to side to aspect), making certain you deal with a roller width with the wall thoroughly from top rated to base right before going on to the remainder of it – by doing this, you’ll normally Have got a damp edge of paint to roll on to, that can minimize your likelihood of having any streaks. When you’ve concluded rolling one particular wall, repeat the reducing and rolling procedure For each and every other wall while in the space.
Based on how briskly you might be at portray, or how massive your room is, by the time you’ve painted all the way about your place, the wall which you started out on ought to be dry, or a minimum of approximately dry. After it is actually, you'll be able to paint with your next coat in exactly the same way as you did the main. Then, clean out your brushes and roller before the paint dries on them.
Now for the last little bit of painting. Use some wonderful sandpaper to frivolously brush any imperfections off your undercoated woodwork – don’t rub way too tricky or you’ll go through the undercoat and have to repaint it. Whichever topcoat you decide on in your woodwork, remember that it's probably to drip simply – drips that could clearly show in your completed job – so watch out never to load an excessive amount of paint on the brush.
For the final coat, make use of a 2” brush around the woodwork. Paint the architraves and skirting boards 1st, remembering to keep an eye on the paint you’ve lately utilized – You may use your brush to wipe away drips you may not have discovered earlier on, Should your paint remains moist.
Finally, paint the doorway. Paint the mouldings within the panels to start with, then the panels by themselves, then the broad strips of wood that make up the remainder of the door. Brush the paint in exactly the same way since the grain from the Wooden (this may be very easy to see in case you appear carefully for the door).
Depart this remaining coat of paint to dry completely (typically overnight) just before peeling off many of the masking tape and rolling up your entire plastic sheeting. Just after acquiring guarded your room for all this perform, your plastic sheets might be in quite weak issue, so roll them in on on their own to incorporate many of the dust, paint and rubbish, and place them straight within the bin.
Place back again all wall hangings, curtains and lightweight fittings and rearrange each of the household furniture, ahead of flopping on to the couch for a effectively-earned cup of tea.
 mouse click the up coming website page additional hints next